Very happy to be part of this pretty treasury today...
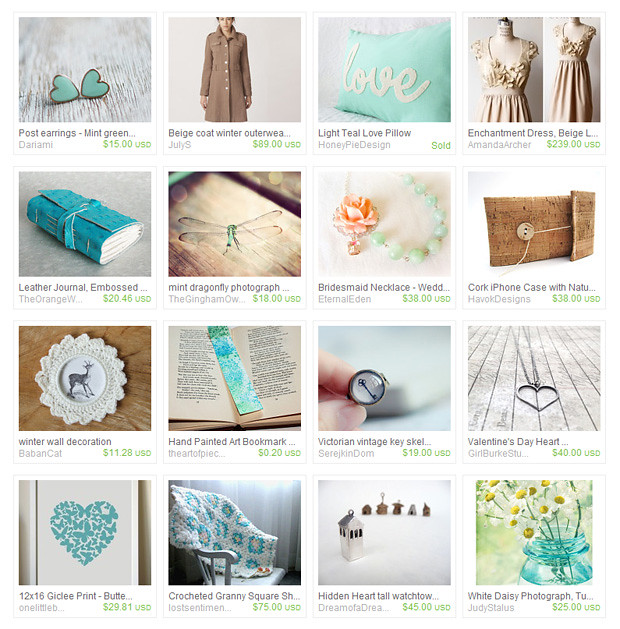 |
| [ CLICK IMAGE FOR LINKS ] |


I've been tweaking away at my blog since the new year started in an effort to try and make it look nicer and more coherent. Not being able to afford a pro to pimp it up and having very little code experience it's a long and slow process and waaaaaay off being what I want it to be. But little by little I hope one day to have the blog of my dreams!
In the meantime, I've added a new list to my sidebar entitled 'The Most Beautiful & Inspiring Blogs'. It gives me something to aspire to! Here's what's on the list so far...
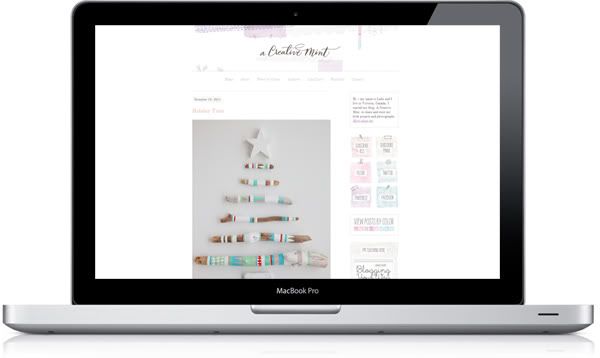 |
| A CREATIVE MINT |
 |
| DOOR SIXTEEN |
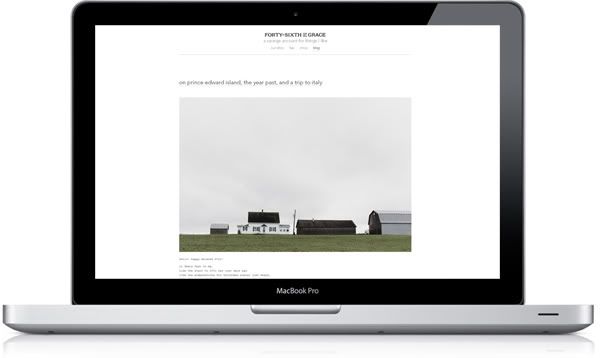 |
| FORTY-SIXTH AT GRACE |
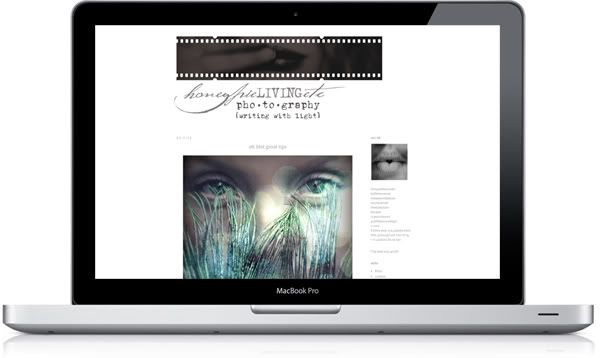 |
| HONEYPIE LIVING ETC |
 |
| KINFOLK JOURNAL |
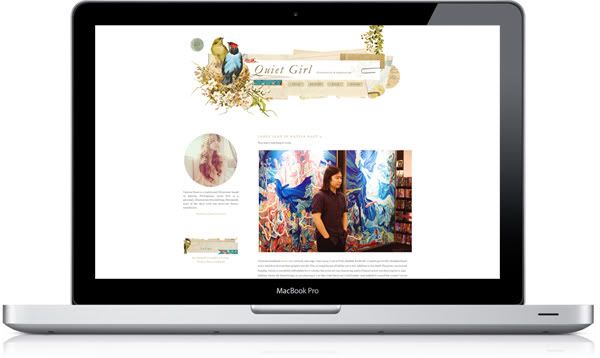 |
| QUIET GIRL |
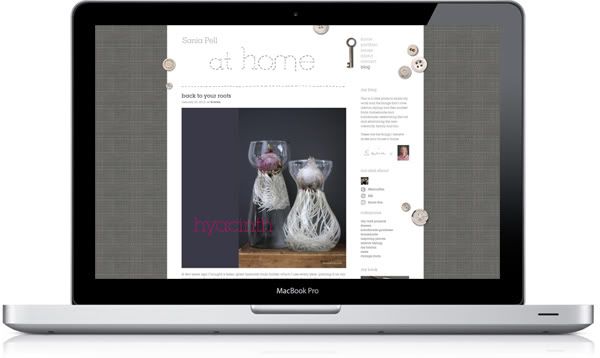 |
| SANIA PELL |
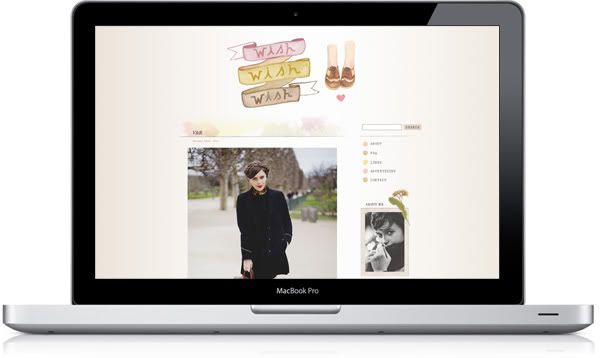 |
| WISHWISHWISH |
I do hope you enjoyed that little round up and find some inspiration somewhere today. I'd love your suggestions for more beautiful and inspiring blogs!
I was very excited to see this beautiful new range of prints from the very talented Eva Juliet on Etsy today!


Inspired by the Norwegian Rosemaling style...

Pick a number and add your own text...

I shall certainly be saving my pennies for one!
Following on from my triumphant post 'How to link an image to your email', I thought I'd show you the next cool trick I've learnt. And I promise you, this is very, very cool!
Seeing as Valentine's Day is just around the corner and it's my Mum & Dad's 50th wedding anniversary this year, I thought it apt to demonstrate this effect with a photo from their wedding day, just before they set off on their honeymoon. This is the original version, with no editing whatsover. It's not great quality and needed a lot of work. Roll the mouse over to see what I did...
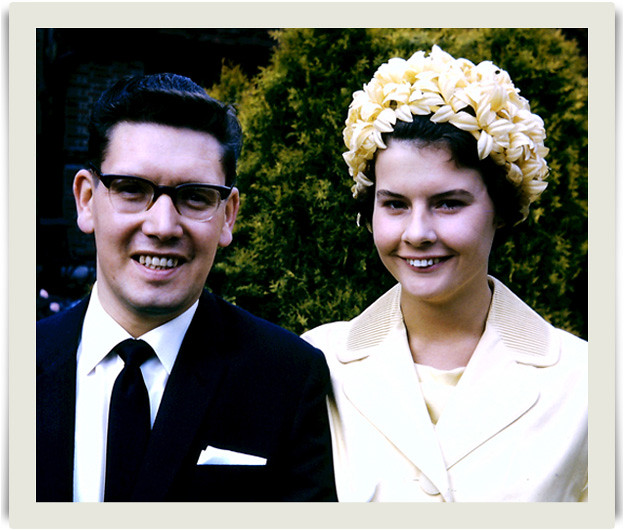
Ta da! So, how do you make a rollover. Tis but simple my dear friends. (well, actually this took quite a bit of persistence and error-correcting on my part, but in the end, if you do the right thing, it's a sinch!) I referred to this quick tutorial, but I kept slipping up, so I want to tell you where I kept going wrong so that you don't make the same mistake!
You will need to put the images you want to use online. I posted mine on Flickr and made them private so that no one else can see them. Come back to Blogger and create a new post. Then copy and past the first bit of HTML into the HTML view of your post, exactly in the place where your want to place your image.
Let's look at it bit by bit.
1 // IMAGE-DESTINATION-URL
This refers to the URL you want your image to link to if you click on it. I don't need to link it to anything so I have just put my own blog URL here, i.e. http://www.onelittlebirdstudio.blogspot.com
2 // IMAGE-1-LINK
This will be the static image you see before you rollover. Now, this is the mistake I was making. You need to get the URL for your image. Do not copy and paste it from the browser bar. This will not work! You need to go to your photostream (if you are using Flickr) and right click on the image. You will see a list pop up and about halfway down you will see 'copy image URL'. Click that! Then come back to your new post and paste it into the HTML.
3 // IMAGE-2-LINK
This is the image you want to see when you rollover with your mouse. Get the URL in exactly the same way as the previous step. Paste it in.
4 // IMAGE-1-LINK
Exactly the same as step 2, paste in the URL for the static image.
That's it! It should work in exactly the same way as you see above. If you have any problems leave a comment and I'll try and put you straight.

A while back I showed you this beautiful illustrated recipe from Eva Juliet, free for you to download. Illustrated recipes seem to be quite the thing. Here's another I found the other day on the lovely forty-sixth at grace blog, illustrated by Melinda Josie. And on a side note you really must check out the Herriott Grace shop, if not for the amazing photography of their gorgeous products!

Even if you don't make them, this will look gorgeous on the kitchen wall!
More playing around with tilt-shifting in Photoshop. Works really well looking down from above...

Photos can be viewed individually here.
Huge range of TTV frames available from Ocodo.
Typographic prints that mean what they say from Therese Sennerholt... (sorry Mum, this post contains some potty-mouth language)
 |
| I WILL TRY ANYTHING ONCE |
 |
| SMALL THINGS |
 |
| SHUT UP |
 |
| JÄVLA SKIT [now you know how to say son of a bitch in swedish] |
On postcards...
 |
...and notebooks too!
 |
Following on from my previous post 'Faking Instagram', there was one more effect that I really like in Instagram that I wanted to show you - that sort of blurry-all-around-the-edges-with-the-focus-right-in-the-centre-so-everything-looks-sort-of-miniature. That is not the technical name. I have since found out the technical name for this effect is tilt-shift. I'll show you a before and after so you can see what I mean.
Here is a photo of my sister-in-law Matina in Amsterdam some years ago, straight out the camera:

And here's the tilt-shift version. I applied the Earlybird action first.

You can find a quick tutorial for creating tilt-shift effects here. And some more of my experiments here. So there you go, some lovely fake Instagram effects to play around with! Enjoy!
I really like Instagram photos. Trouble is, I don't own an iPhone, and probably never will. So the next best thing is to just fake the damn things. I had a trundle around on the net and found Daniel Box who'd taken the trouble to make some rather convincing (and free) Instagram Photoshop Actions (thank you Daniel). I'll demonstrate the effects on a picture of my little boy, Leo.
Here's the original photo straight out the camera:

And here are the 12 filters in the set:

Rather nice aren't they! The set also includes some of the frames that you see on Instagram pics. But what is missing is the waffle effect frame on the original photo up there. So I made one! You will need Photoshop - just hit this button to download.

I love mutual admiration! I had an email from Twitter the other day to say that Sally was now following me. I always check out any new follower so hopped on over to Sally's profile and then to her website. There I discovered her beautiful mid-century modern inspired screenprints and giclee prints. I immediately wanted to blog about them...
 |
| FISH POOL |
 |
| FEATHERS AND FLORA (MUSTARD) |
Imagine my surprise when I went to her 'news' section to see my own prints staring out at me! She'd beaten me to it! I wouldn't have known about that if I'd not followed the links, and I wouldn't have discovered Sally's beautiful work. In the few emails we have now exchanged, I find I really like Sally and feel we have much in common as artists. Social networking can be good sometimes!
 |
| MAGPIE'S TREASURE |
 |
| DANDELION (MUSTARD) |
Many of Sally's themes are based around nature, but she does have the odd non-nature inspired piece, such as this personal favourite of mine...
 |
| TIME FOR TEA |
Be sure to have a look at more of Sally's fine work here.
If, like me, you are a complete dullard when it comes to anything codey or webby (we're talking HTML, CSS and all that palaver), then this should hopefully appeal. I recently found out how to link this image directly to my email. Meaning that when you click on the picture you go straight to a new email - to me! (go on, click on it, send me an email, go on). It's easy to add a picture as a gadget in your side bar, but how do you link a picture within a post? I now know and this is rather exciting to me. So I thought I would share with you how to do it.

First, create a new page or post and upload your image (I'm using my typewriter image). Now, select the HTML view. You will see lots of lovely code (scary huh!). This is where you need your glasses on. Look for the bit that sits between a pair of double quotation marks and starts with 'http:'. It's underlined in pink here:
 |
| [ CLICK TO ENLARGE ] |
This is the HTML code for opening your picture in lightbox mode (click on the typewriter image above to see what I mean), which is the standard thing that happens when you click on an image in Blogger. But we want to link to our email instead. So we need to change this link. Select that bit of code (be careful to just select the text and not the quotation marks) and write mailto:youremailaddress, like this:
 |
| [ CLICK TO ENLARGE ] |
Save and close. Voila! It's done. You can link images to another website by inserting their URL (include all the http bit) instead of an email address. Simple really.
I simply wish I had a spare four hundred bucks for one of these amazing beauties from Spencer Studio.
 |
| YOUNG BALLERINA DANCING NEAR WATER |
 |
| WOMAN WITH CHINOISERIE WALLPAPER |
 |
| DESERT LANDSCAPE |
If you're finding winter a little hard and dreaming of summer already, maybe these images will remind you of the sheer beauty all around you at this time of year.


Give your eyes a visual treat and check out Elle's shop for prints, canvasses, iPhone skins, iPad skins and more!


