blogging tip: it's a rollover!
Following on from my triumphant post 'How to link an image to your email', I thought I'd show you the next cool trick I've learnt. And I promise you, this is very, very cool!
Seeing as Valentine's Day is just around the corner and it's my Mum & Dad's 50th wedding anniversary this year, I thought it apt to demonstrate this effect with a photo from their wedding day, just before they set off on their honeymoon. This is the original version, with no editing whatsover. It's not great quality and needed a lot of work. Roll the mouse over to see what I did...
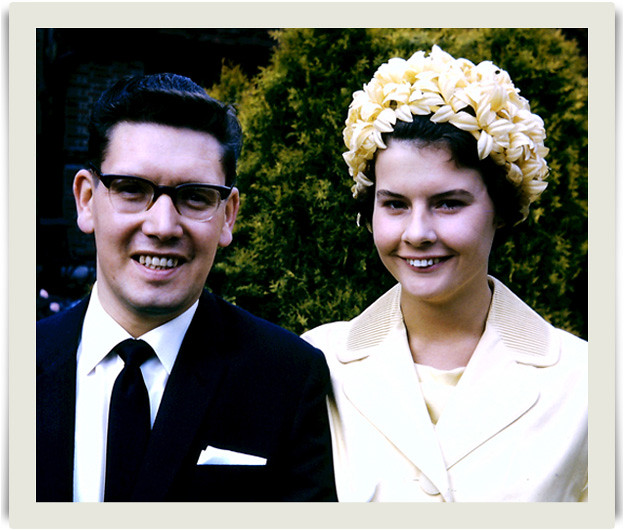
Ta da! So, how do you make a rollover. Tis but simple my dear friends. (well, actually this took quite a bit of persistence and error-correcting on my part, but in the end, if you do the right thing, it's a sinch!) I referred to this quick tutorial, but I kept slipping up, so I want to tell you where I kept going wrong so that you don't make the same mistake!
You will need to put the images you want to use online. I posted mine on Flickr and made them private so that no one else can see them. Come back to Blogger and create a new post. Then copy and past the first bit of HTML into the HTML view of your post, exactly in the place where your want to place your image.
Let's look at it bit by bit.
1 // IMAGE-DESTINATION-URL
This refers to the URL you want your image to link to if you click on it. I don't need to link it to anything so I have just put my own blog URL here, i.e. http://www.onelittlebirdstudio.blogspot.com
2 // IMAGE-1-LINK
This will be the static image you see before you rollover. Now, this is the mistake I was making. You need to get the URL for your image. Do not copy and paste it from the browser bar. This will not work! You need to go to your photostream (if you are using Flickr) and right click on the image. You will see a list pop up and about halfway down you will see 'copy image URL'. Click that! Then come back to your new post and paste it into the HTML.
3 // IMAGE-2-LINK
This is the image you want to see when you rollover with your mouse. Get the URL in exactly the same way as the previous step. Paste it in.
4 // IMAGE-1-LINK
Exactly the same as step 2, paste in the URL for the static image.
That's it! It should work in exactly the same way as you see above. If you have any problems leave a comment and I'll try and put you straight.


Ha, I was just working on that via a tutorial from Kim Klassen yesterday. Great stuff, have yet to try it out but I will! ;-)
ReplyDeleteI have tried this in blogger sometime ago and it worked, but now I can't get it to work. Is this anything to do with IE 8 cross-scripting protection that been recently introduced?
ReplyDeleteThanks.
http://jocularjohnny.blogspot.com/